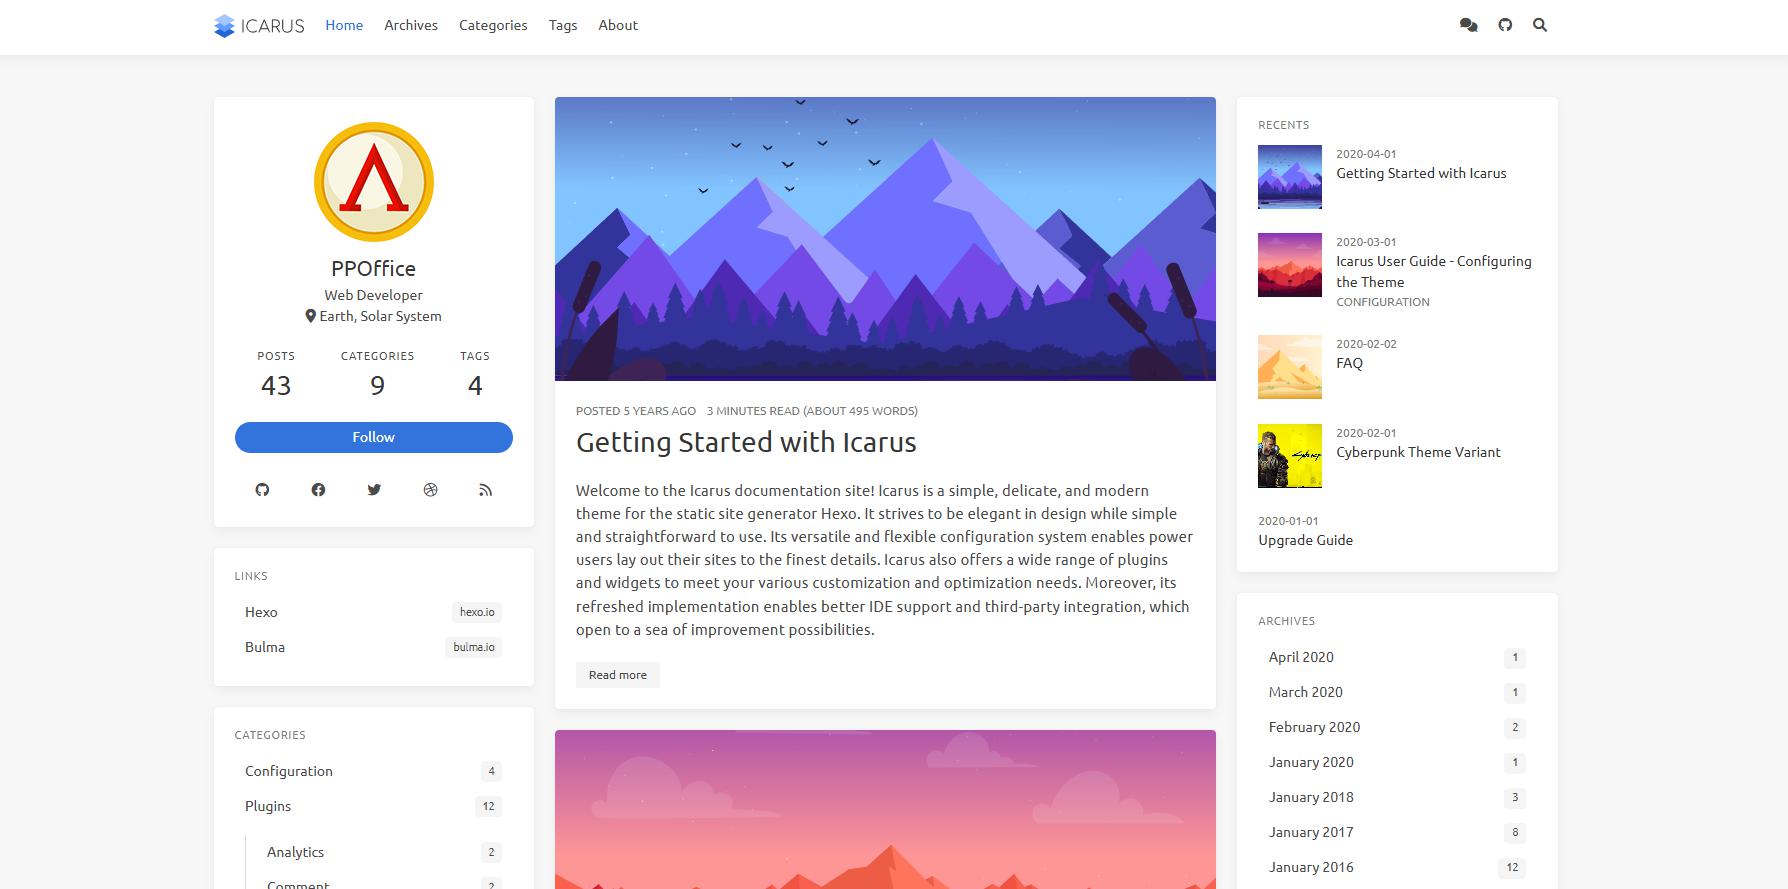
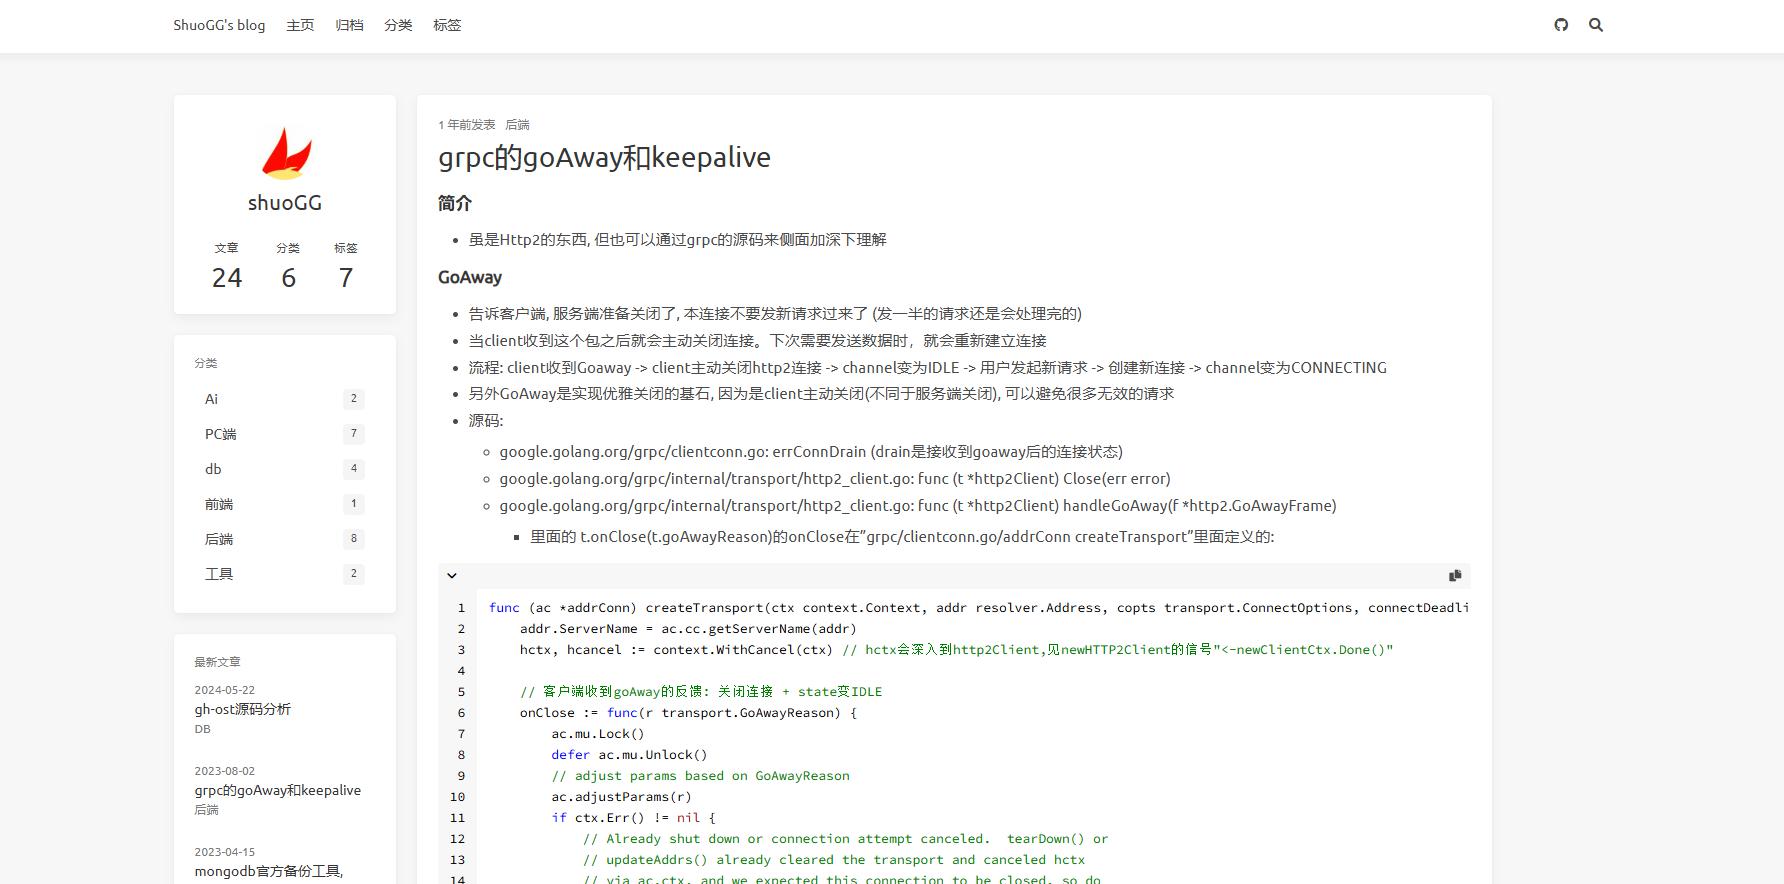
博客主题icarus样式魔改
简介
- 这几天把博客主题从next换成了icarus, 官方默认样式不大满意, 我做了些调整, 这里记下调整过程
预览(前者官方, 后者魔改)


小组件调整
- 自带的小组件太杂了, 这里我只保留了总览, 分类, 标签, 近期文章
- 修改
_config.icarus.yml的widgets, 仅保留type为profile,categories,recent_posts,tags这4个, 其他删掉或注释掉即可
代码样式调整
- 修改
_config.icarus.yml的article/highlight/theme, 默认是用atom-one-light, 我改用vs即vscode的样式
标题样式调整
- 原大标题字体没加粗处理, 跟文章content看起来不好区分, 所以做了加粗处理
- 修改
include/style/article.styl文件, 在h1到h5项分别加上font-weight: 600, 如下:1
2
3
4
5
6
7
8
9
10
11
12
13
14
15
16
17
18
19
20
21
22
23
24
25
26
27
28
29
30
31
32
33
34&.article
.article-meta, .article-tags
color: $text-light
.article-meta
overflow-x: auto
margin-bottom: .5rem
.article-more
@extend .button.is-light
.content
word-wrap: break-word
font-size: $article-font-size
h1
font-weight: 600
font-size: 1.75em
h2
font-weight: 600
font-size: 1.5em
h3
font-weight: 600
font-size: 1.25em
h4
font-weight: 600
font-size: 1.125em
h5
font-weight: 600
font-size: 1em
文章宽度和留空区宽度调整
- 默认的文章宽度太小, 两边的留空区太大, 文章内部就显得拥挤
调整
include/style/base.styl的基础变量$gap, 由64px改为32px1
2
3
4
5$gap ?= 32px
$tablet ?= 769px
$desktop ?= 1088px
$widescreen ?= 1280px
$fullhd ?= 1472px调整
include/style/responsive.styl里面containter的width, container其实就是文章容器, 这里把默认值2 * $gap改成1 * $gap1
2
3
4
5
6
7
8
9
10
11
12
13+widescreen()
.is-1-column .container, .is-2-column .container
max-width: $widescreen - 1 * $gap
width: $widescreen - 1 * $gap
+fullhd()
.is-2-column .container
max-width: $fullhd - 1 * $gap
width: $fullhd - 1 * $gap
.is-1-column .container
max-width: $desktop - 1 * $gap
width: $desktop - 1 * $gap调整
layout/common/widgets.jsx的getColumnSizeClass, 将case 2的is-4-tablet is-4-desktop is-4-widescreen替换为is-2-tablet is-2-desktop is-2-widescreen1
2
3
4
5
6
7
8
9function getColumnSizeClass(columnCount) {
switch (columnCount) {
case 2:
return 'is-2-tablet is-2-desktop is-2-widescreen';
case 3:
return 'is-3-tablet is-3-desktop is-3-widescreen';
}
return '';
}调整
layout/layout.jsx, 将'is-8-tablet is-8-desktop is-8-widescreen': columnCount === 2替换为'is-8-tablet is-9-desktop is-9-widescreen': columnCount === 21
2
3
4
5
6
7
8<div class={classname({
column: true,
'order-2': true,
'column-main': true,
'is-12': columnCount === 1,
'is-8-tablet is-9-desktop is-9-widescreen': columnCount === 2,
'is-8-tablet is-9-desktop is-6-widescreen': columnCount === 3
})} dangerouslySetInnerHTML={{ __html: body }}></div>
侧边栏的profile
- 由于侧边栏被我调窄了, 头像显得太大, 所以这里调下
layout/widget/profile.jsx的figure, 将128x128替换为64x641
2
3
4
5
6
7
8
9
10
11<div>
<figure class="image is-64x64 mx-auto mb-2">
<img class={'avatar' + (avatarRounded ? ' is-rounded' : '')} src={avatar} alt={author} />
</figure>
{author ? <p class="title is-size-4 is-block" style={{'line-height': 'inherit'}}>{author}</p> : null}
{authorTitle ? <p class="is-size-6 is-block">{authorTitle}</p> : null}
{location ? <p class="is-size-6 is-flex justify-content-center">
<i class="fas fa-map-marker-alt mr-1"></i>
<span>{location}</span>
</p> : null}
</div>